Showing posts with label diy. Show all posts

Coffee & Chocolate Facemask...


A few weeks ago I posted the first in a series of natural facemasks and today I have another one for you all!

A Coffee and Chocolate Facemask. This is a favorite among many beauty lovers as it can decrease puffiness,brighten skin and wake up tired looking complexions. Everything you need can be found in your kitchen and it is whipped up in less then 2 minutes. You can also tailor it to your skin type by adding honey or lemon juice.

Here is how to make it..


Ingredients

1 tbsp Ground Coffee
1 tbsp Unsweetened Cocoa
2 tbsp Natural yogurt

for dry skin add
1 tbsp honey

for oily skin add
1 tbsp lemon juice

Method

1. Put everything into a bowl and mix. Leave for one minute and then mix again to make sure all the coffee and cocoa is dissolved.

Using a foundation brush, brush over a clean face and neck. You want quite a thick layer. Then leave for 10 minutes or until dry and then remove with warm water. You may want to use a facecloth/wipe.

It leaves your skin smooth, energized and ready to take on a busy day! or WINDY day like today!!


Natural Green Tea Facemask...


My skin is looking so lifeless at the moment due to fatigue and stress andI have been looking around for a facemask to combat it but they all seem to be so expensive. So instead of paying a small fortune on something that may not work I have decided to look into more natural remedies like green tea, honey, coconut, all packed with goodness.

Today I went for something simple, Green tea.


Green tea is packed with antioxidants that can help to sooth irritated and damaged skin. It also helps to refresh the skin and give it a bit of a boost balancing out its natural oils.

All you need to do is pop 1 or 2 green tea bags into boiling water and let it brew for 2 - 3 minutes. Then using some cotton wool apply to your face and neck. Leave for 10 minutes and then rinse off.
For a more cooling effect you could pop it in the fridge to get cold before you use it.

It gives your skin a great refreshing kick and can be done when ever you need a little boost.


Keep an eye out for more natural facemask over the next couple of weeks.

Mothers Day DIY Meringues...


This Sunday is Mothers Day, a day to celebrate mummys all around the world and to Thank them for all that they do for us. And what is a better way to do that then with something home made and delicious.

These little bites of yumminess are so easy to make and all you need to make them is 3 things from your local grocery store.


What you will need:

A tub of mini meringues, pink food colouring and vanilla icing.


How to make them:

1. In a bowl mix some icing with a little food colouring until you have reached your desired colour.
2. Spoon a little icing onto a mini meringue.
3. Sandwich with another mini meringue and place on a plate.Do as many or as little as you want.
4. Once you have finished place the meringues in the fridge to set, about 10min or so.


After your meringues have set place them in a bag or box and tie with a ribbon or piece of string.


Add a pretty bunch of flowers and a card to complete the gift.


If any mummy's are doing Slimming World just leave out the icing and give mum a little bag of mini meringues, they are only 1 1/2 syns each.

DIY - Halloween Spider Bow and Ring...


Its almost Halloween...eeek!!! :) So pumpkins are ready to be carved and last minute details are being finished off for my costume, Like this spooky bow and ring. Which I thought was so cute, I had to share! :)

What you need...


1 bow - I used one of my Giant Wool Bows By Emah - which will be in my Etsy store in the new year!
1 ring - I used one of my broken rings, recycle recycle :)
a couple of plastic spiders
and a glue gun

What you do...


1. Place your spiders on your bow where you think they look best and then glue them down.


 2. Now find the top of your ring, add a little glue and stick on your spider. Hold it in place for a couple of seconds to make sure it is stuck down.


And just like that you have your own spooky accessories for Halloween. You could also do this with a headband or necklace, anything you like really. Just get creative.


DIY - Cute Halloween Wreath ...


Halloween is by far my favourite holiday as I love all things spooky, dark and scary! And now I finally get to go all out on Halloween...why...because I have a little person!! Hello fancy dress, treats and a house over run by spooky decorations. YAY! :)
Now I would love to just buy anything I can get my hands on but I am on a budget and love anything DIY. so handmade spookiness is the theme this year. 

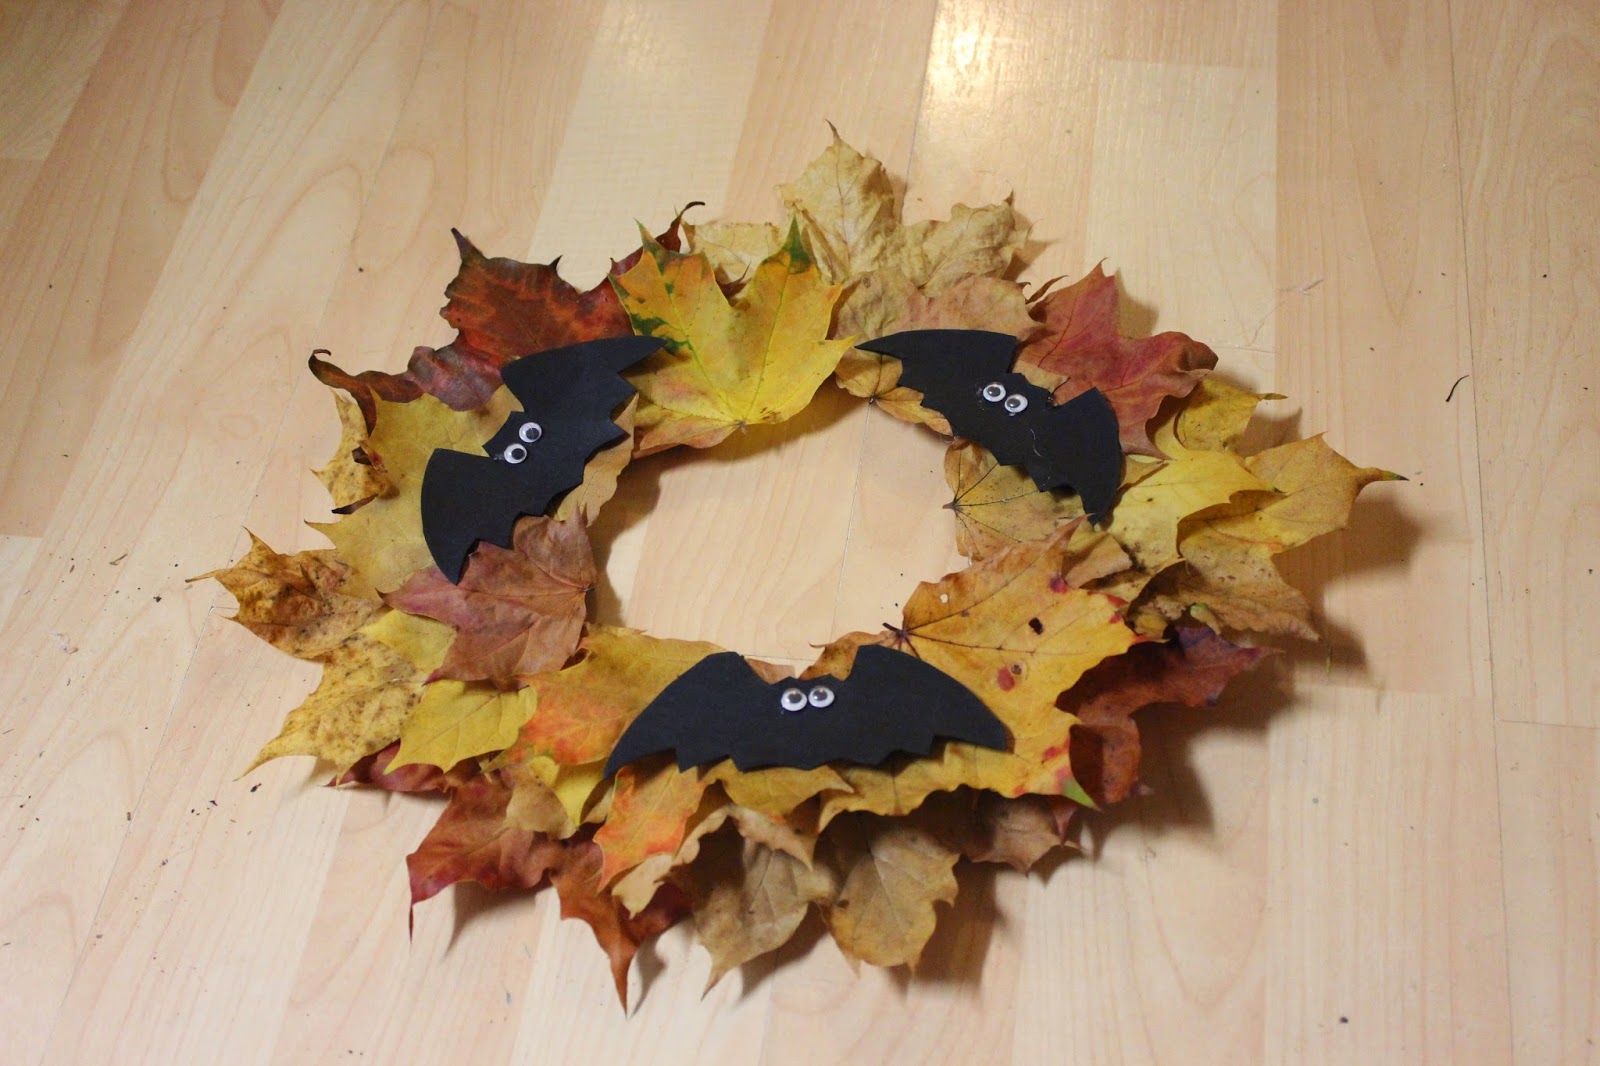
To start it all off I made this cute little Bat Halloween Wreath just using what I could find around the house and outside.

This is how I made it...


You will need

an old wire hanger
pliers
a glue gun and glue
scissors
scrap black paper
Autumn leaves
string
googly eyes
bat stencil (I used a cookie cutter)


1. Using your pliers cut the top of the hanger off and form into a circle. if this is difficult for you do what I did and ask your other half :)


2. Lay your biggest leaves out on the floor in a circle, this will for the base of your wreath.


3. Using your glue gun, glue the ring in place over the leaves.


4. Once dry, turn over and build up layers of leaves.


5. While that dries make your bats and then glue them onto your wreath. I found odd numbers look best.


 6. To finish it off add some googly eyes to your bats and glue a little loop of string to the back so you are able to hang it up.
Leave to dry completely and then hang on your door or on your wall!

You don't have to use bats, use anything you like. Go mad! :)

DIY - Play - Dough...


Today we didn't have the best weather again, winter is coming, so we made Play - Dough! :) Gosh I loved Play - Dough as a kid but OMG how expensive is it these days and all the fancy bits and bobs that come with it?? Just give me a few cutters, a rolling pin and some imagination and I'm sorted.

Making your own Play - Dough is so easy to do, especially this recipe as its non cook, which also means the kids can get involved! :)

Here is how you make it


Ingredients

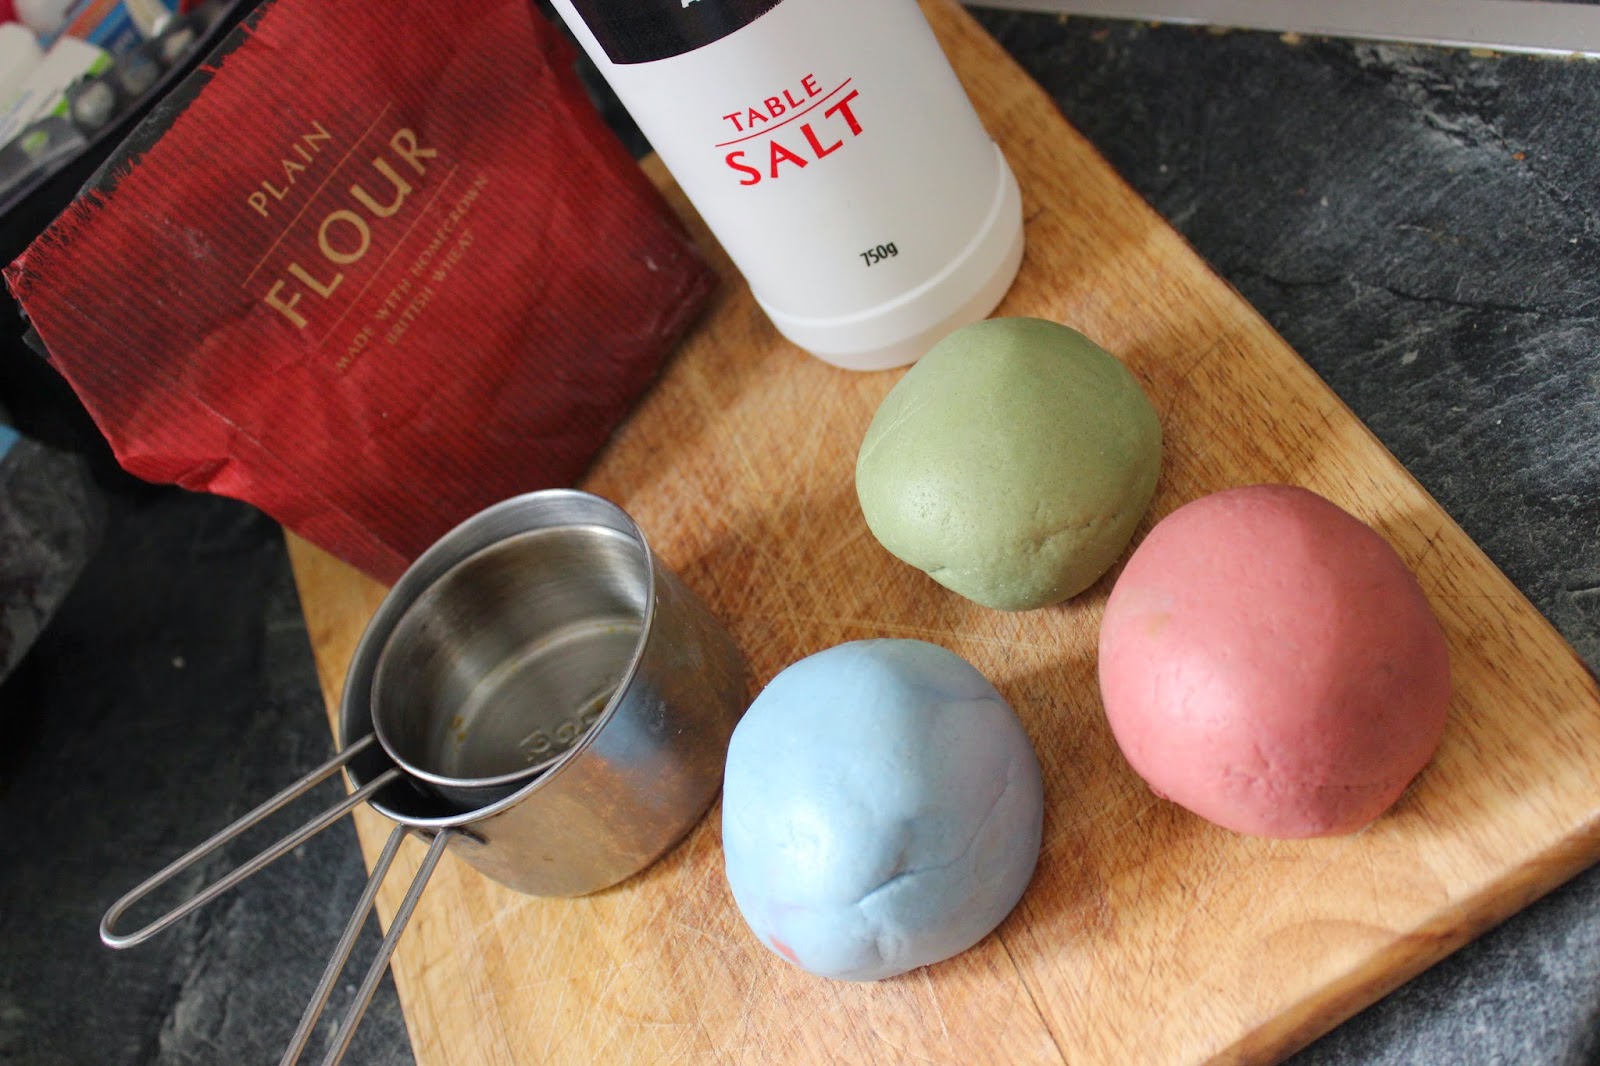
1 cup Flour
1/2 cup salt
1/2 cup water
food colouring

Method

1. Put flour, salt and water into a bowl and mix until combined.
2. Divide into 3, (or how ever many colours you want) add a few drops of food colouring to each ball and kneed until you have the colour you want.


My little one is a bit small to understand and know what exactly to do with Play - Dough but he enjoyed trying to roll it out and pushing his fingers into it. At this age its all about textures and new experiences so dont be afraid to try it out. Little ones may try and put it in their mouths, like everything else, but don't worry its harmless and due to it being so salty they will probably only do it once! :)


I don't have many cutters in 'shapes' but I do have the alphabet and 1 - 10 which I think is great as when they get older you can turn playtime into a bit of learning too by teaching them how to spel their name or just the ABC and 123.

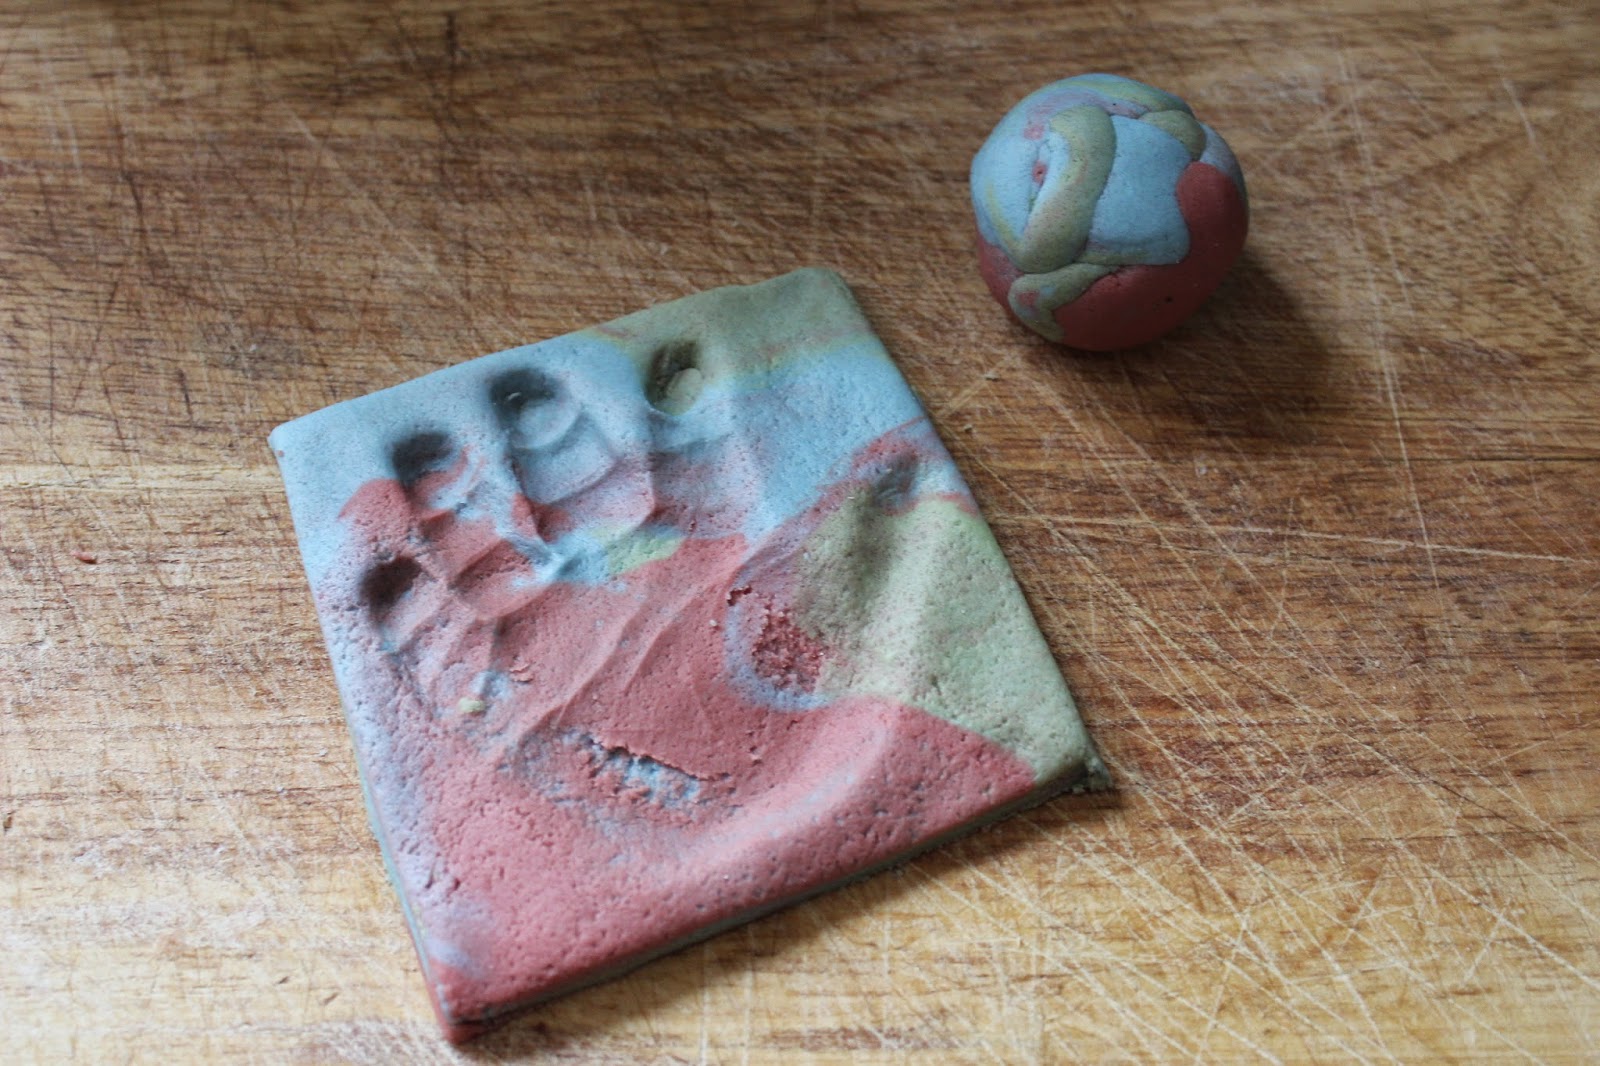
This Play - Dough is also great because you can bake it, so let them press their hand into it and then back it very low for a few hours and keep it as a keepsake.


To store just place in a plastic tupperware or ziplock bag and keep in the fridge. It lasts for ages but if it starts getting a bit dry or even too sticky just throw it away and start again.


Play - Dough is a great activity for indoors and perfect for a rainy or cold day. Why not give it a try this winter.

DIY - Paper Heart Bunting...


Today I was in a bit of a DIY mood so I decided to make myself some paper heart bunting for my front room window.
I first made this bunting for Christmas last year and I loved it so much that I decided to keep it up. Now with time paper bunting can get a little damaged or misshapen, so some new bunting was in order and this time I added a bit of colour. It is fairly easy to make, just a little bit fiddly. Here is how I made it.

What you will need


5 pages from a old book, you could use newspaper
2 pieces of coloured card/paper
string
scissors
pencil and rubber just in case
ruler
stapler

How I did it


1. Take your book pages, measure 1 inch across and 8 inches down drawing a line down the page. Do this across the whole page.


2. Cut the book pages along the line and into strips. 


3. On half of the strips, measure 2 inches (or a inch off each end) and cut. This is to create your smallest length of paper. Once you have done this you should be left with a pile of 8 inch strips and a pile of 6 inch strips. 10 of each.


4. Now to do your middle strip. Take you coloured card/paper, measure 1 inch across x5 and 7 inches down. Draw a line.


5. Cut along the line into strips. Again you want 10.


 6. Once everything is cut out, fold them all in half.


7. Now cut a length of string long enough to cover your window as well as 10 smaller pieces which will be used to attach your hearts. 4 inches or so.


8. Once you have cut your string, take 1 of each sized strip and line it up at the ends.


9. Bring the two ends together, place a piece of string in the middle and then staple together.


10. You now have a completed heart. Carry on until all 10 have been done.


11. When you have all your individual hearts complete, tie them to your long piece of string.
They dont have to be perfect or equal measurements apart, as once its up you can sort that out. Just trim any stray string. And wala your bunting is complete! :)


You don't have to use this across your window, you could have it hanging down one side or even  use it like tinsel on your Tree around Christmas. Individual hearts can be used as tags or as way to jaz up a present. Just use your imagination.