Macmillan Coffee Morning...


Yesterday I joined in on the largest coffee morning fun and hosted my own Macmillan Coffee Morning to help raise money for a fantastic cause.

This is something I wasn't going to miss as my two Macmillan nurses Cathy and Lesley played such a huge role in getting me through Cancer. Cathy was there from day 1 and helped me with any questions i might have had  as well as my weekly flush for my PICC line which Lesley then took over. 
They were always so cheerful and friendly and gave me the support I needed! Sometimes when you go through an illness everything can be filled with medical jargon that can leave you so overwhelmed and sometimes scared but Cathy and Lesley always broke it down and reassured me and my loved ones everything was going to be ok! They are such precious people and I will be forever thankful for having them in my life.


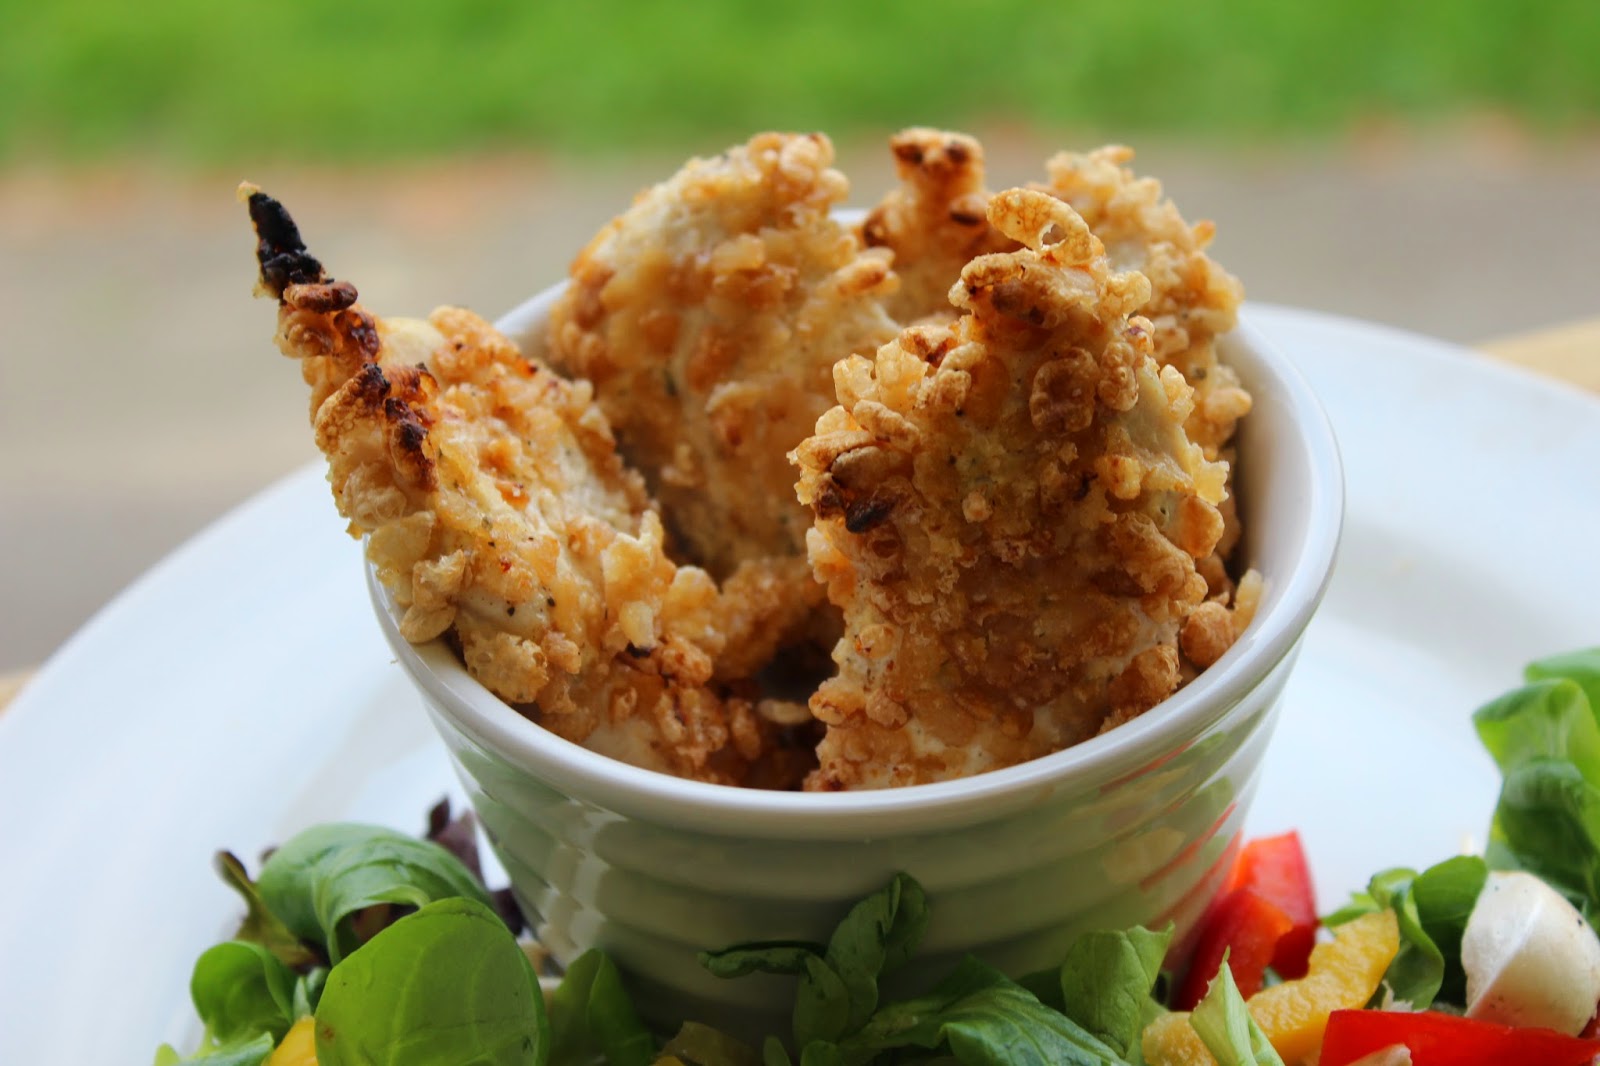
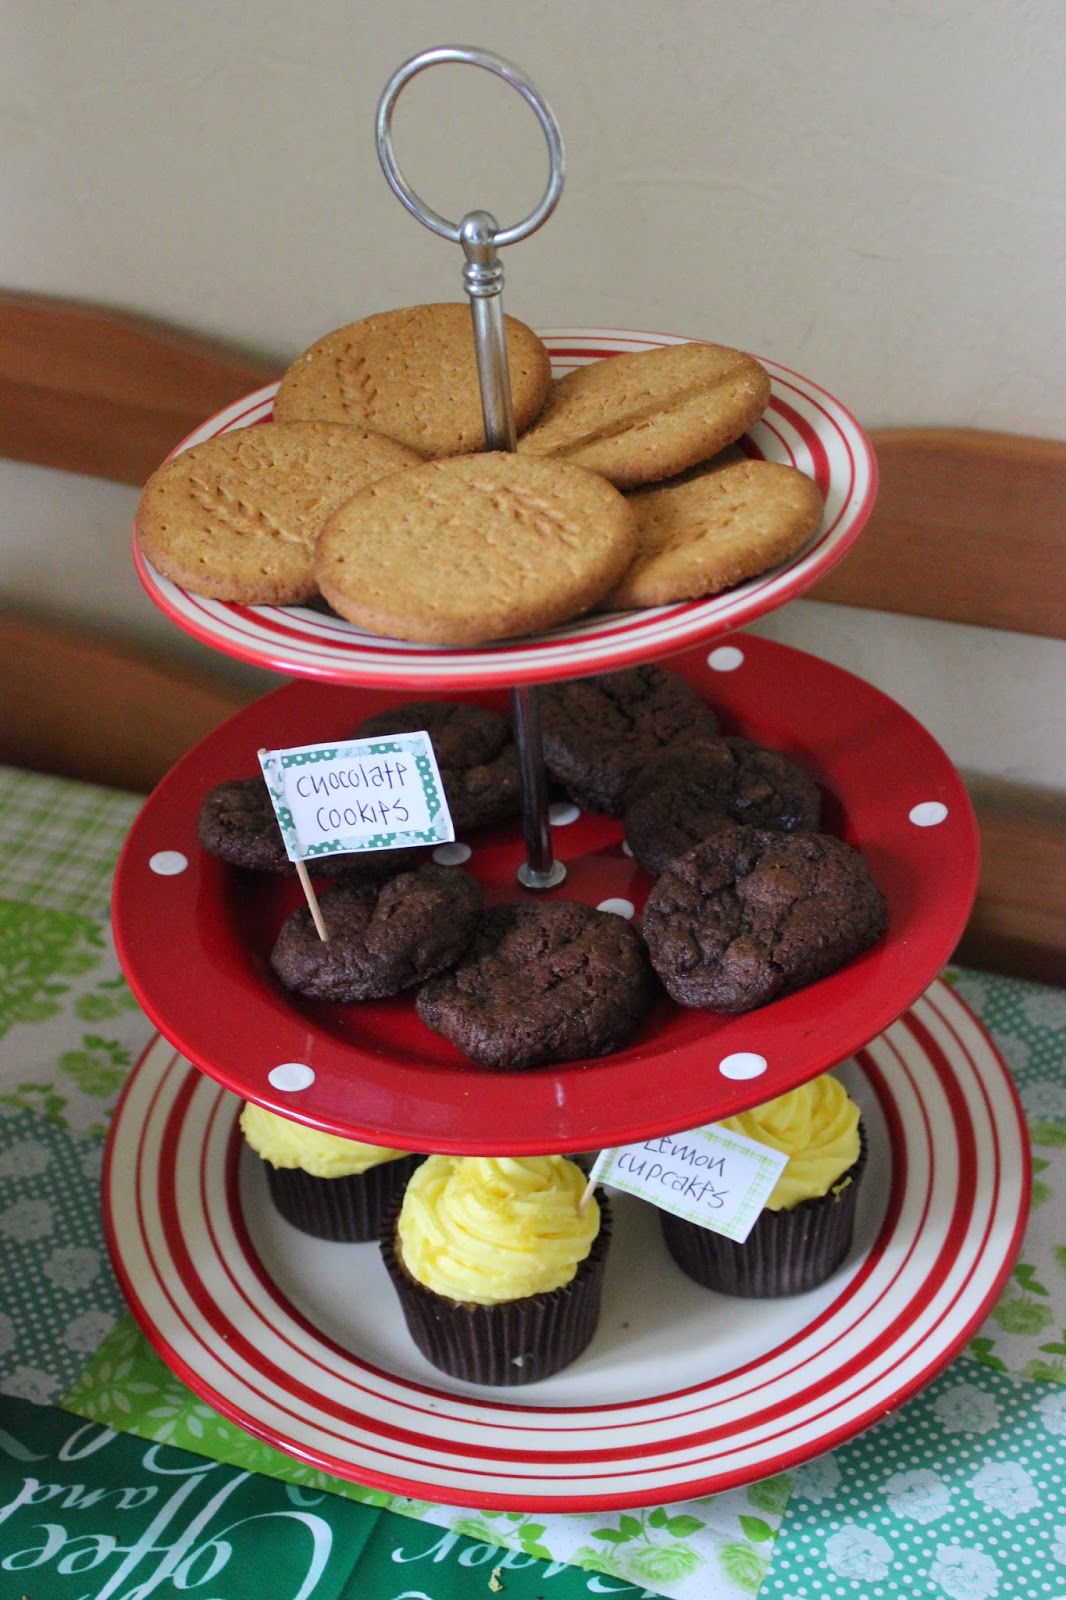
My coffee morning prep started off with some late night baking and icing which I think is always fun and best, as there is no little ones pulling at you to play or other halves looking over your shoulder trying to get a taste. Just you, your kitchen and a few delicious bakes!


On Friday everything kicked off early with my friend Jo and her gorgeous April dropping by first! I then had a steady flow of friends and neighbours popping in throughout the morning for coffee, cake and a chat. I think i should do this more often actually as it made for such a lovely day. I did have to jump in the pool in the afternoon to burn off all that cake though!


A coffee morning is such a great idea for any fundraising and I encourage you all to host your own next year! If not for Macmillan then for something else. The combination of cake and friends is always a winner!!!

Here are our #mugshots (#cakeshot for April)  from my coffee morning...


Cant wait for next years coffee morning! :)

Guilt Free Crispy Southern Fried Chicken Strips...


I have been craving Southern Fried Chicken lately but one that is made from real chicken, unlike some store bought, and one that is not so calorific, like from Fast Food outlets!! 
And I think I may have just accomplished that, thanks to Rice Krispies and Fat Free Creme Fraiche. 


Ingredients

1 large chicken breast, sliced
25g of Rice Crispies
1 tbsp Fat Free Creme Fraiche
a little water
1/2 tsp salt, pepper, paprika, dried oregano, garlic powder

Method

1. Put your Creme fraiche into a bowl add your spices, a little water and mix well. This is what you will use as your 'sticking' agent as well as a way to keep your chicken moist and full of flavour.
2. Put your Rice Krispies into another bowl, crushing them slightly so they resemble bread crumbs.
3. Dip each piece of sliced chicken into the creme fraiche mixture and then into the Rice Krispies. Then place them onto a baking tray with a little Fry Light.
4. Bake in a very hot oven for about 20min or until the chicken is cooked and the outside is crispy.

Serve with a delicious salad or oven baked chips if you are in that kind of mood.


For Slimming World lovelies here is the syn count,

Shop bought Southern Fried Chicken (breaded) - 8 syns
1 piece of chicken from  KFC or similer - 10 1/2 syns
My recipe - 6.5 syns it could be less as you not using 25g of creme fraiche

Not a huge saving but its a saving and every syn counts. The Rice Krispies count 5 syns per 25g but I find for that real crispiness without oil/frying they work best. You could also use egg instead of creme fraiche but you wouldn't get all the flavour.

A spontaneous trip to the Fun Fair...


Yesterday evening my little family decided to take a spontaneous trip to the Fun Fair after dinner. My little one is teething at the moment and not sleeping well, so we thought it would be a great way to tire him out as well as have a bit of fun and some well needed family time.


I adore Fun Fairs, all the lights and smiling faces. Its such a Happy Place. But gosh when you have a little one it can get pricy due to the fact that you have to go on the rides too, so always set a budget I say. And make sure you actually want the gold fish before winning it he he 


We didn't go on a huge amount of rides but Ben did ride on his very first Roller Coaster with mummy and his favourite the Tea Cups with Daddy. We tried to find the manliest one, which was Woody and Buzz, for Daddy and Ben as they are boys after all. :)


My OH has been working so much overtime lately and it was just so lovely to spend some quality time with him and as a family. Looking forward to summer now and our Family holiday in Australia.


Mini Beef Hot Pot...


Tonight I made delicious mini hot pots for myself and the boys, I did slightly tweak to make it SW friendly by removing the wine and butter that I usually use.
Hot pot is a great comfort/winter food and the smell that fills your kitchen while you cooking is just scrumptious!


Ingredients

400g Diced Beef
3 Large carrots, diced
1 Courgette diced
3 potatos. sliced
1 onion, diced
1 clove garlic, roughly chopped
1 beef stock cube, or two if you like it extra beefy
Water to cover, you can also add a glass of red wine if you fancy it
Salt and pepper
A few dashes of Worcestershire sauce
frylight

Recipe

1. In a large pan brown off your beef in a little fry light (oil for non SW). Once browned take out of the pan and place to one side.
2. In the same pan fry your garlic and onion for a few minutes and then re add the diced beef.
3. Cover with water, throw in the stock cube, add a few dashes of Worcestershire, salt and pepper.
4. Bring it to the boil and leave for 20 min, then bring down to a simmer and cook for a further 40min, Stiring every now and again to make sure it doesn't catch.
5. After 60 min throw in your carrots and cook for another 10min. While that is cooking put your sliced potato into boiling water and cook for five minutes. you just want to soften them. Once you have cooked your meat and carrots, take off the heat and add your courgettes.
6. Divide the meat and veg between 3 or 4 small oven proof dishes, or one big one.  Place potato slices ontop and spray with a a little frylight. ( Brush with melted butter for a non SW version.)
7. Pop them into the oven at 160 fan and cook for 20min or until the potatoes are golden and crispy.


DIY - Play - Dough...


Today we didn't have the best weather again, winter is coming, so we made Play - Dough! :) Gosh I loved Play - Dough as a kid but OMG how expensive is it these days and all the fancy bits and bobs that come with it?? Just give me a few cutters, a rolling pin and some imagination and I'm sorted.

Making your own Play - Dough is so easy to do, especially this recipe as its non cook, which also means the kids can get involved! :)

Here is how you make it


Ingredients

1 cup Flour
1/2 cup salt
1/2 cup water
food colouring

Method

1. Put flour, salt and water into a bowl and mix until combined.
2. Divide into 3, (or how ever many colours you want) add a few drops of food colouring to each ball and kneed until you have the colour you want.


My little one is a bit small to understand and know what exactly to do with Play - Dough but he enjoyed trying to roll it out and pushing his fingers into it. At this age its all about textures and new experiences so dont be afraid to try it out. Little ones may try and put it in their mouths, like everything else, but don't worry its harmless and due to it being so salty they will probably only do it once! :)


I don't have many cutters in 'shapes' but I do have the alphabet and 1 - 10 which I think is great as when they get older you can turn playtime into a bit of learning too by teaching them how to spel their name or just the ABC and 123.

This Play - Dough is also great because you can bake it, so let them press their hand into it and then back it very low for a few hours and keep it as a keepsake.


To store just place in a plastic tupperware or ziplock bag and keep in the fridge. It lasts for ages but if it starts getting a bit dry or even too sticky just throw it away and start again.


Play - Dough is a great activity for indoors and perfect for a rainy or cold day. Why not give it a try this winter.

A New Month...


With the first week of September came the start of my new fitness challenge. I am hoping that along with Slimming World it will have me down 2 stone by the end of November and feeling confident for my Big Australian holiday at the end of the year.

I have been struggling with my weight for so long now and piled even more on during pregnancy and illness!But now I am better and have no excuses! There is no reason why the weight should still be there  and be affecting my confidence so much. So with my new found energy and and my kick start thanks to Slimming World (I am currently at the half stone mark, well 3lbs off but I am hoping that will be gone by my next weigh in on Tuesday) I am hitting the diet and fitness hard!


Now I am not the sportiest person in the world and running isnt my favourite, especially with big boobs and bad knees, but I have found that if I just do short stints  of running I'm fine. So every night I do a few hill sprints which I combine with Jillian Michaels 30 day Shred. I'm hoping this combination of cardio and strength will get me the results I want and need.


As mentioned before fitness isnt my only tool for fighting the bulge but diet too and that comes in the form of Slimming World! Why I never did it before I dont know! Its AMAZING!!!!!!! It doesn't even feel like you are on a diet and the love and encouragement you get from the group is again AMAZING!! I really feel that this time the weight will come off and stay off.


With these two things in place and now set as a routine I feel am well on my way to finding my confidence and getting into that bikini at the end of the year. But time will only tell...I'l keep you posted!:)

DIY - Paper Heart Bunting...


Today I was in a bit of a DIY mood so I decided to make myself some paper heart bunting for my front room window.
I first made this bunting for Christmas last year and I loved it so much that I decided to keep it up. Now with time paper bunting can get a little damaged or misshapen, so some new bunting was in order and this time I added a bit of colour. It is fairly easy to make, just a little bit fiddly. Here is how I made it.

What you will need


5 pages from a old book, you could use newspaper
2 pieces of coloured card/paper
string
scissors
pencil and rubber just in case
ruler
stapler

How I did it


1. Take your book pages, measure 1 inch across and 8 inches down drawing a line down the page. Do this across the whole page.


2. Cut the book pages along the line and into strips. 


3. On half of the strips, measure 2 inches (or a inch off each end) and cut. This is to create your smallest length of paper. Once you have done this you should be left with a pile of 8 inch strips and a pile of 6 inch strips. 10 of each.


4. Now to do your middle strip. Take you coloured card/paper, measure 1 inch across x5 and 7 inches down. Draw a line.


5. Cut along the line into strips. Again you want 10.


 6. Once everything is cut out, fold them all in half.


7. Now cut a length of string long enough to cover your window as well as 10 smaller pieces which will be used to attach your hearts. 4 inches or so.


8. Once you have cut your string, take 1 of each sized strip and line it up at the ends.


9. Bring the two ends together, place a piece of string in the middle and then staple together.


10. You now have a completed heart. Carry on until all 10 have been done.


11. When you have all your individual hearts complete, tie them to your long piece of string.
They dont have to be perfect or equal measurements apart, as once its up you can sort that out. Just trim any stray string. And wala your bunting is complete! :)


You don't have to use this across your window, you could have it hanging down one side or even  use it like tinsel on your Tree around Christmas. Individual hearts can be used as tags or as way to jaz up a present. Just use your imagination.