Its Friday and I want a Curry - Chicken/Lamb Korma


I am not the hugest fan of curry as I don't like very hot food but I do enjoy a Korma and this recipe is so quick and simple why wouldn't I make it.


Ingredients


made with either lamb or chicken

Fry Light/olive oil
600g lamb leg steaks/chicken, chopped
1 onion, finely chopped
2 garlic cloves, finely chopped
2 tsp grated ginger
2 tbsp korma curry powder
4 large carrots, thickly sliced
500g passata
3 tbsp tomato puree
300ml vegetable stock
350g dried basmati rice
200g peas
Large handful of coriander
250g fat free natural fromage frais
salt and pepper

Method

1. Spray a frying pan with fry light/ olive oil and brown the lamb/chicken in batches.
2. Once browned remove and place in another bowl. Now turn the heat high on the pan, add some more fry light/olive oil and cook the onion and garlic for a few minutes.
3. Stir in the curry powder, carrots, passata, tomato puree and stock and bring to the boil. return the meat to the pan and cover. Simmer for 40-45 min or until the lamb is tender. About 20 min for chicken.
4. meanwhile cook your rice.
5. Add your peas and coriander cook over a high heat for 4-5 min. remove from the heat and stir in your fromage frais and season. Garnish with coriander to serve.


A deliciously perfect and guilt free way to replace that nasty takeaway curry!

for SW lovelies this recipe is syn free.

Recipe from SW website. Adapted by me.

Sourdough ...


I have always loved the thought of baking my own bread but have never actually got around to it...until now! Inspired by The Great British Bake Off and the dishy silver fox that is Paul Hollywood, I baked my first ever loaf, Sourdough to be exact and it turned out amazing! In fact I am in preparation phase for my second loaf!

As this is quite a lengthy recipe I am going to try and explain it step by step. That way nothing will be missed and will hopefully produce a fabulous sourdough loaf.


Before you can actually get started on the bread you have to make a sourdough starter, which is basically like a yeast which will help the bread rise and give it that distinct taste.

A sourdough starter is alive so don't think you can make it and then just leave it, you have to look after it and feed it. As Paul Hollywood says in his book 'For the first week, treat your starter like a pet, don't just leave it alone.' 

Here is how you make it.

Ingredients

Sourdough Starter
250g strong white bread flour
5 - 7 seedless green grapes, chopped
250ml tepid water (warm water)

For each refreshing
100g strong white bread flour
100ml tepid water

Method

1. Put the flour into a mixing bowl, add the chopped grapes and tepid water and then mix to combine.
2. Tip the mixture into a large jar or plastic tupperware with an airtight lid. I couldn't find the lid for my jar so I just used some clingfilm. Just make sure it is airtight and has room to grow.
3. Once covered leave in a warm room to ferment (20 - 25 C) for 3 days. The mixture should froth up, a tip is to draw a line on the jar so you can see how far it has risen or falls.
4. After 3 days the mixture should be risen, bubbly and a bit darker in colour with a sour smell, not pleasant really. This means that your starter is active. If its not then discard half the mixture and add another 100g strong bread flour,100ml of tepid water and a few chopped grapes, leaving it for another 2 days.
5. Once your starter is active, discard half the mixture and stir in 100g strong white bread flour and 100ml of tepid water.You want to keep it the same consistency. (like thick batter) This is called refreshing. And is what you have to do to keep your starter alive.
6. Leave your refreshed starter for another 24 hours and it should bubble up and become thick and jelly like which means it is now ready to use.

Did I mention making sourdough is not a quick thing...

Now its time to make the bread!

Ingredients

375g strong white bread flour, plus extra for dusting
250g sourdough starter
7g salt
130 - 175ml tepid water
olive oil for oiling

Method

1.Combine the flour, starter and salt in a mixing bowl. The amount of water you will need will depend on the consistency of your starter. Add 110ml initially and mix together with your hands. Then add the rest of the water gradually until you have a soft dough.
2. Pour a little oil onto the work surface and tip your mixture onto it. Knead thoroughly for 10 - 15 min, until the dough is soft, elastic and smooth. 


3. Tip the dough into a lightly oiled bowl and cover with a tea towel or clingfilm and leave to rise for 5 hours or until it has doubled in size.


4. Once risen, scatter your work surface with flour and tip your dough out onto it.


Push down on the dough using your knuckles and the heels of your hands to knock out the air. Fold the dough on itself a few times to strengthen the structure.


5. Flattern the dough down into a rough rectangle shape. Fold the two shorter ends in towards the middle and press down to get a chunky squarish shape. Turn over the dough so the join is underneath. Now shape your dough into a ball with a smooth top.
6. Flour your ball and place in a well flowered bowl or bread basket. Paul then says to place it in a plastic bag with plenty of space to rise, I didn't have this so I just used a tea towel again. Leave the dough to rise for another 4 - 8 hours, or until it has doubled in size. Don't rush this part.


7. Heat your oven to 220 C (check temp if fan assisted) put a roasting tin on the bottom shelf as it heats up. Heavily dust a non-stick baking tray with flour and gently tip out your dough, trying to keep the domed shape. Slash the top with a sharp knife.


8. Pour 1 litre of water into the roasting tray in the oven. This creates steam which helps the crust form. Bake the loaf for 30 minutes, then lower the temp to 200 C and bake for a further 15 - 20 minutes until the loaf is golden brown and sounds hollow when you tap the base. Transfer to a wire rack and leave to cool completely.


This bread is SO delicious and great toasted! I know this was only my first loaf but I am already hooked and taking orders so I can bake more :)


Recipe based/from Paul Hollywoods Bread.

Macmillan Coffee Morning...


Yesterday I joined in on the largest coffee morning fun and hosted my own Macmillan Coffee Morning to help raise money for a fantastic cause.

This is something I wasn't going to miss as my two Macmillan nurses Cathy and Lesley played such a huge role in getting me through Cancer. Cathy was there from day 1 and helped me with any questions i might have had  as well as my weekly flush for my PICC line which Lesley then took over. 
They were always so cheerful and friendly and gave me the support I needed! Sometimes when you go through an illness everything can be filled with medical jargon that can leave you so overwhelmed and sometimes scared but Cathy and Lesley always broke it down and reassured me and my loved ones everything was going to be ok! They are such precious people and I will be forever thankful for having them in my life.


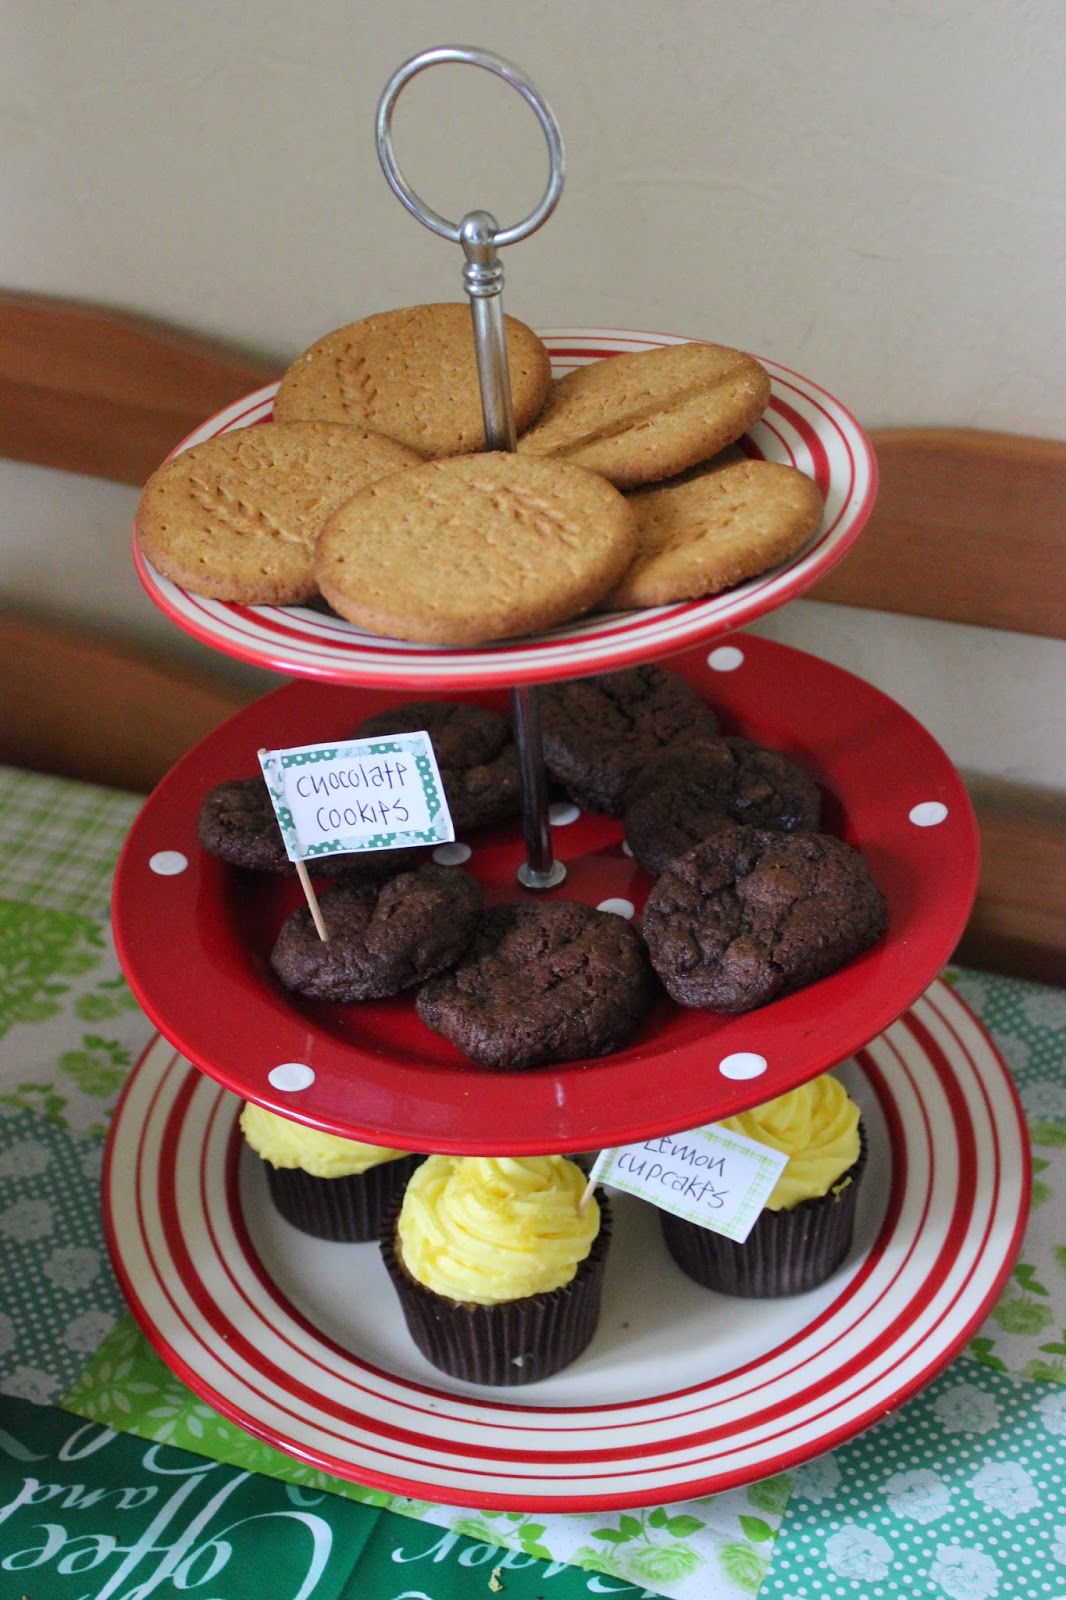
My coffee morning prep started off with some late night baking and icing which I think is always fun and best, as there is no little ones pulling at you to play or other halves looking over your shoulder trying to get a taste. Just you, your kitchen and a few delicious bakes!


On Friday everything kicked off early with my friend Jo and her gorgeous April dropping by first! I then had a steady flow of friends and neighbours popping in throughout the morning for coffee, cake and a chat. I think i should do this more often actually as it made for such a lovely day. I did have to jump in the pool in the afternoon to burn off all that cake though!


A coffee morning is such a great idea for any fundraising and I encourage you all to host your own next year! If not for Macmillan then for something else. The combination of cake and friends is always a winner!!!

Here are our #mugshots (#cakeshot for April)  from my coffee morning...


Cant wait for next years coffee morning! :)

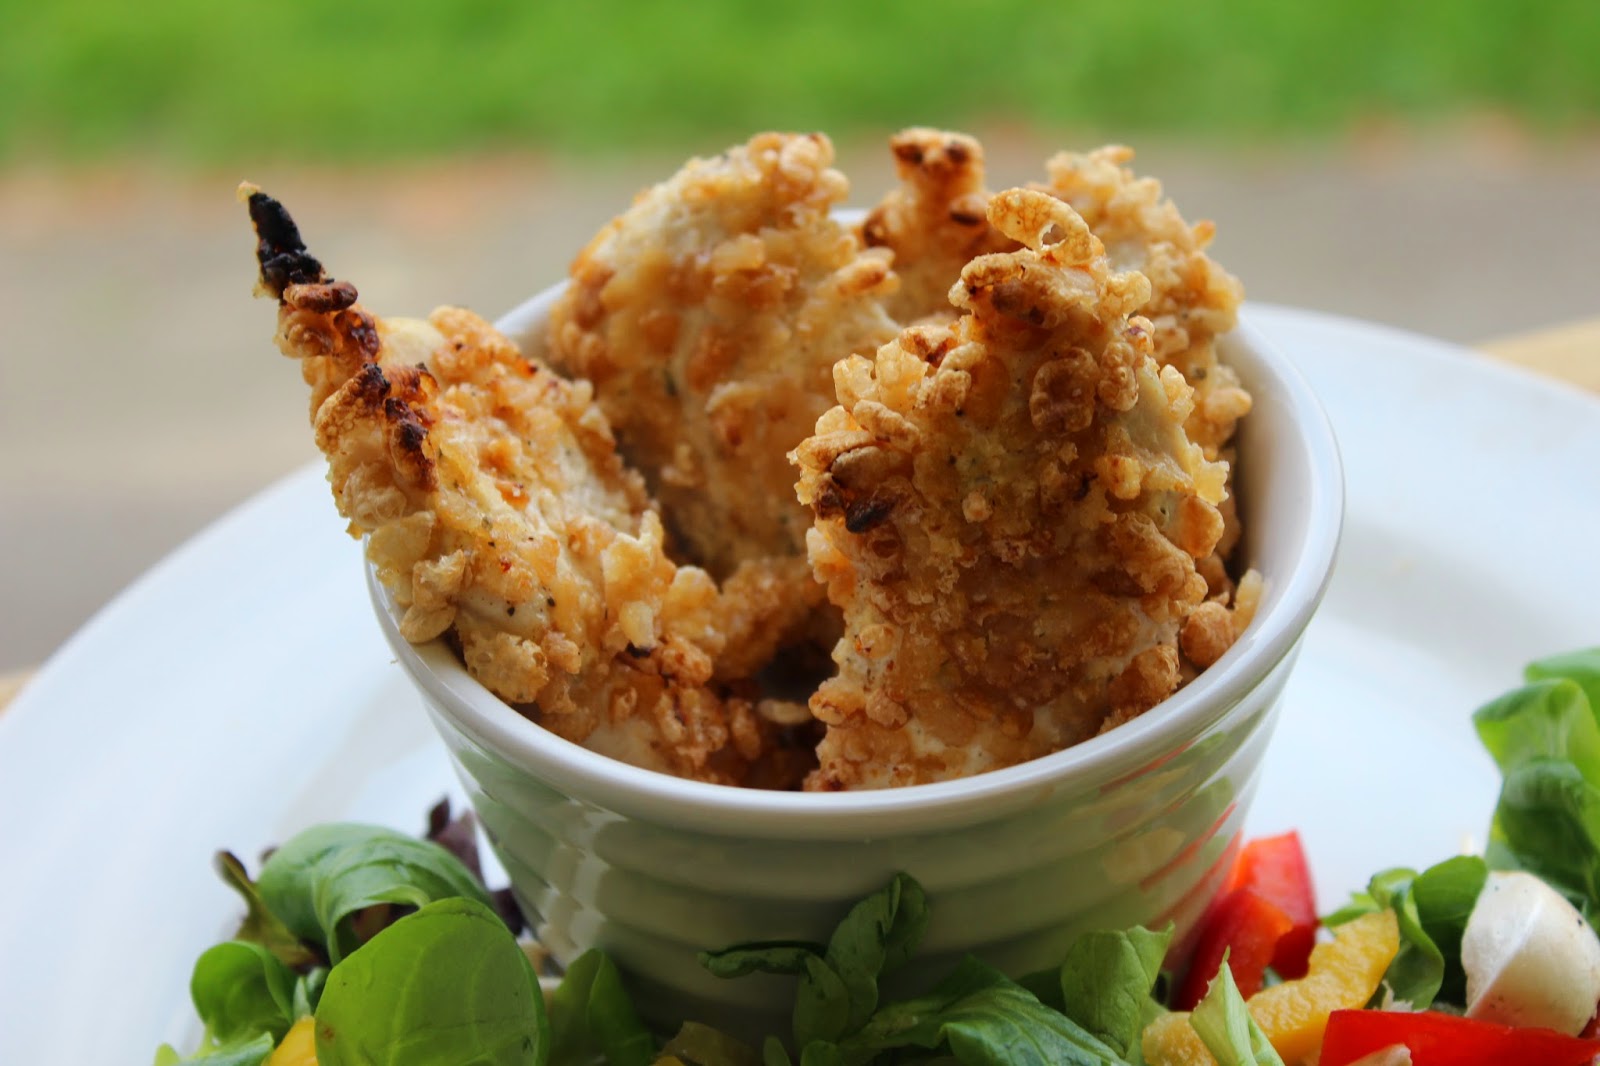
Guilt Free Crispy Southern Fried Chicken Strips...


I have been craving Southern Fried Chicken lately but one that is made from real chicken, unlike some store bought, and one that is not so calorific, like from Fast Food outlets!! 
And I think I may have just accomplished that, thanks to Rice Krispies and Fat Free Creme Fraiche. 


Ingredients

1 large chicken breast, sliced
25g of Rice Crispies
1 tbsp Fat Free Creme Fraiche
a little water
1/2 tsp salt, pepper, paprika, dried oregano, garlic powder

Method

1. Put your Creme fraiche into a bowl add your spices, a little water and mix well. This is what you will use as your 'sticking' agent as well as a way to keep your chicken moist and full of flavour.
2. Put your Rice Krispies into another bowl, crushing them slightly so they resemble bread crumbs.
3. Dip each piece of sliced chicken into the creme fraiche mixture and then into the Rice Krispies. Then place them onto a baking tray with a little Fry Light.
4. Bake in a very hot oven for about 20min or until the chicken is cooked and the outside is crispy.

Serve with a delicious salad or oven baked chips if you are in that kind of mood.


For Slimming World lovelies here is the syn count,

Shop bought Southern Fried Chicken (breaded) - 8 syns
1 piece of chicken from  KFC or similer - 10 1/2 syns
My recipe - 6.5 syns it could be less as you not using 25g of creme fraiche

Not a huge saving but its a saving and every syn counts. The Rice Krispies count 5 syns per 25g but I find for that real crispiness without oil/frying they work best. You could also use egg instead of creme fraiche but you wouldn't get all the flavour.

A spontaneous trip to the Fun Fair...


Yesterday evening my little family decided to take a spontaneous trip to the Fun Fair after dinner. My little one is teething at the moment and not sleeping well, so we thought it would be a great way to tire him out as well as have a bit of fun and some well needed family time.


I adore Fun Fairs, all the lights and smiling faces. Its such a Happy Place. But gosh when you have a little one it can get pricy due to the fact that you have to go on the rides too, so always set a budget I say. And make sure you actually want the gold fish before winning it he he 


We didn't go on a huge amount of rides but Ben did ride on his very first Roller Coaster with mummy and his favourite the Tea Cups with Daddy. We tried to find the manliest one, which was Woody and Buzz, for Daddy and Ben as they are boys after all. :)


My OH has been working so much overtime lately and it was just so lovely to spend some quality time with him and as a family. Looking forward to summer now and our Family holiday in Australia.


Mini Beef Hot Pot...


Tonight I made delicious mini hot pots for myself and the boys, I did slightly tweak to make it SW friendly by removing the wine and butter that I usually use.
Hot pot is a great comfort/winter food and the smell that fills your kitchen while you cooking is just scrumptious!


Ingredients

400g Diced Beef
3 Large carrots, diced
1 Courgette diced
3 potatos. sliced
1 onion, diced
1 clove garlic, roughly chopped
1 beef stock cube, or two if you like it extra beefy
Water to cover, you can also add a glass of red wine if you fancy it
Salt and pepper
A few dashes of Worcestershire sauce
frylight

Recipe

1. In a large pan brown off your beef in a little fry light (oil for non SW). Once browned take out of the pan and place to one side.
2. In the same pan fry your garlic and onion for a few minutes and then re add the diced beef.
3. Cover with water, throw in the stock cube, add a few dashes of Worcestershire, salt and pepper.
4. Bring it to the boil and leave for 20 min, then bring down to a simmer and cook for a further 40min, Stiring every now and again to make sure it doesn't catch.
5. After 60 min throw in your carrots and cook for another 10min. While that is cooking put your sliced potato into boiling water and cook for five minutes. you just want to soften them. Once you have cooked your meat and carrots, take off the heat and add your courgettes.
6. Divide the meat and veg between 3 or 4 small oven proof dishes, or one big one.  Place potato slices ontop and spray with a a little frylight. ( Brush with melted butter for a non SW version.)
7. Pop them into the oven at 160 fan and cook for 20min or until the potatoes are golden and crispy.


DIY - Play - Dough...


Today we didn't have the best weather again, winter is coming, so we made Play - Dough! :) Gosh I loved Play - Dough as a kid but OMG how expensive is it these days and all the fancy bits and bobs that come with it?? Just give me a few cutters, a rolling pin and some imagination and I'm sorted.

Making your own Play - Dough is so easy to do, especially this recipe as its non cook, which also means the kids can get involved! :)

Here is how you make it


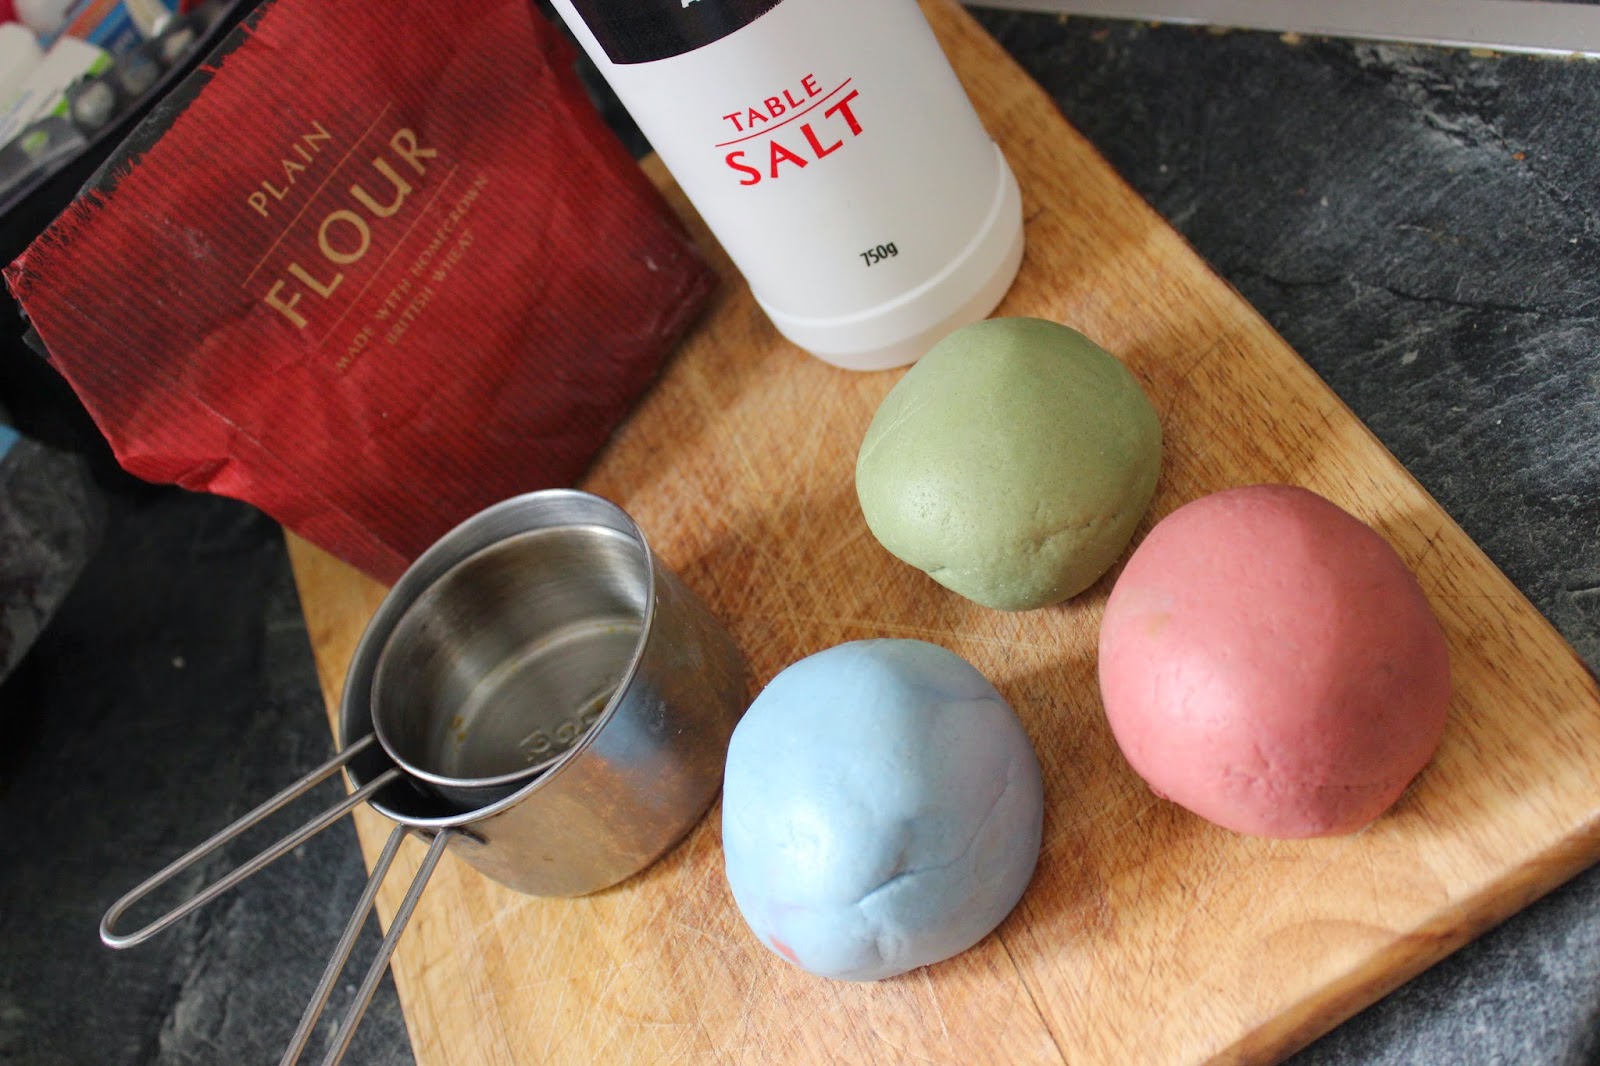
Ingredients

1 cup Flour
1/2 cup salt
1/2 cup water
food colouring

Method

1. Put flour, salt and water into a bowl and mix until combined.
2. Divide into 3, (or how ever many colours you want) add a few drops of food colouring to each ball and kneed until you have the colour you want.


My little one is a bit small to understand and know what exactly to do with Play - Dough but he enjoyed trying to roll it out and pushing his fingers into it. At this age its all about textures and new experiences so dont be afraid to try it out. Little ones may try and put it in their mouths, like everything else, but don't worry its harmless and due to it being so salty they will probably only do it once! :)


I don't have many cutters in 'shapes' but I do have the alphabet and 1 - 10 which I think is great as when they get older you can turn playtime into a bit of learning too by teaching them how to spel their name or just the ABC and 123.

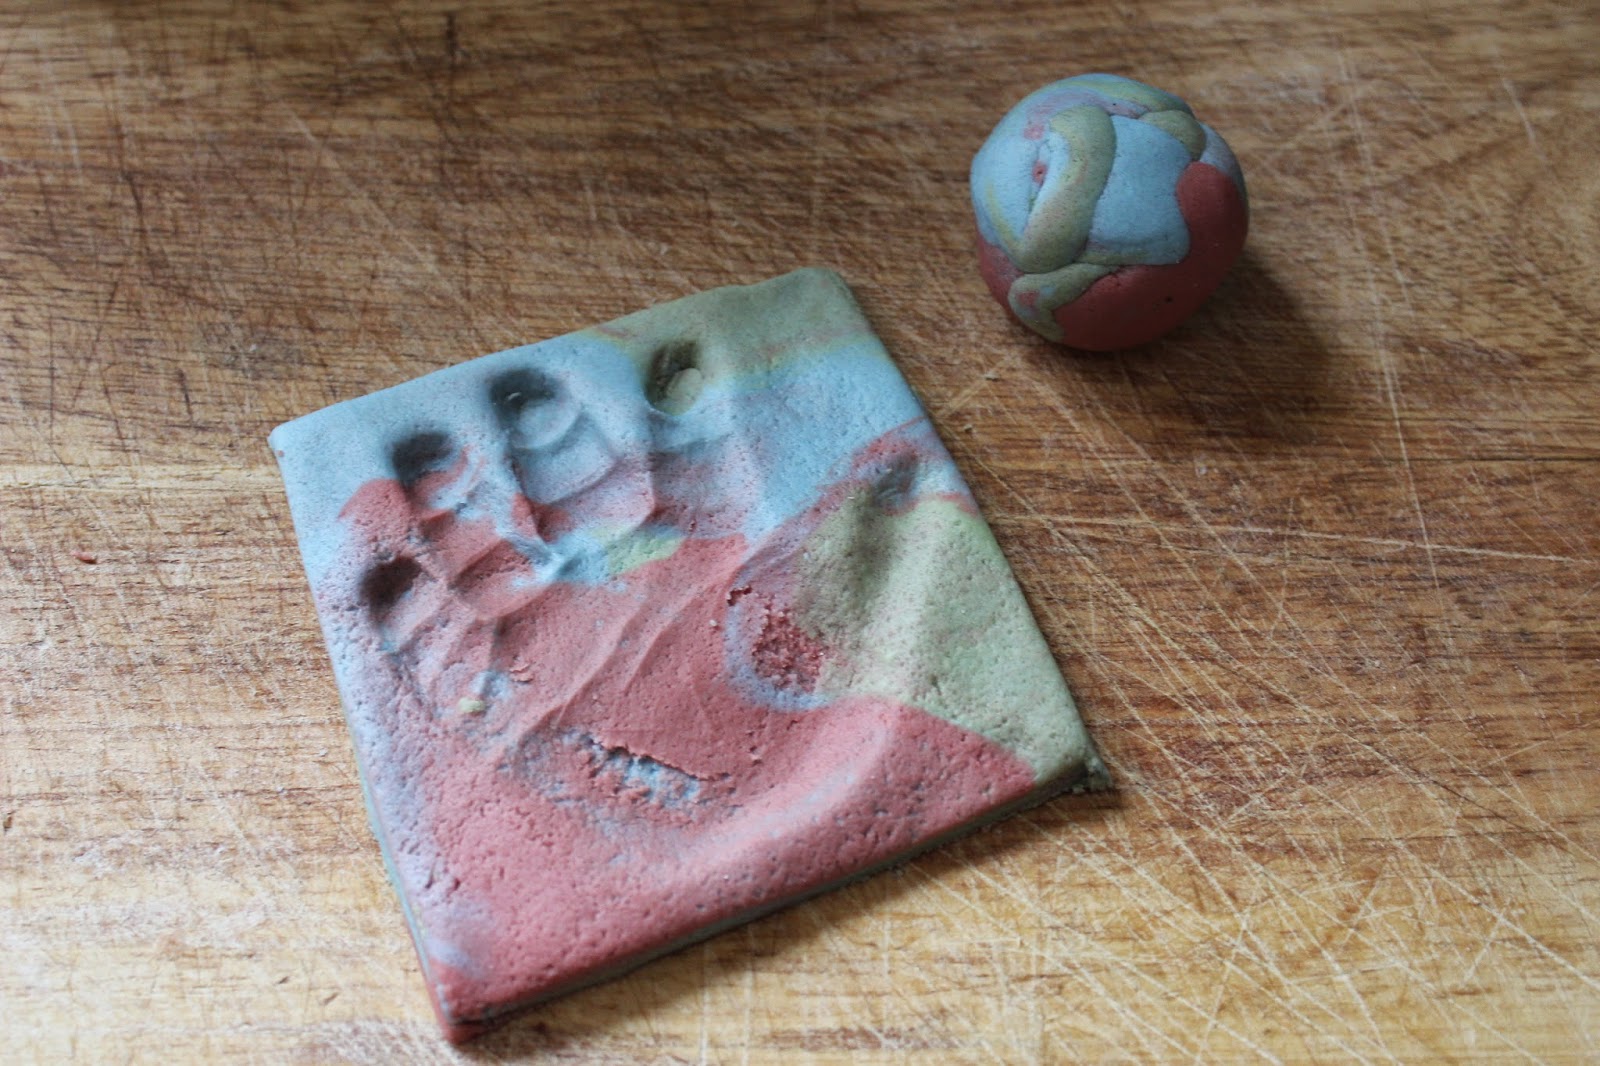
This Play - Dough is also great because you can bake it, so let them press their hand into it and then back it very low for a few hours and keep it as a keepsake.


To store just place in a plastic tupperware or ziplock bag and keep in the fridge. It lasts for ages but if it starts getting a bit dry or even too sticky just throw it away and start again.


Play - Dough is a great activity for indoors and perfect for a rainy or cold day. Why not give it a try this winter.